EDID(Extended display identification data)란 모니터랑 그래픽카드와 통신하는 데이터이다.
일반적으로 I²C를 사용하며 VGA나 DVI, HDMI 케이블을 통해서 128바이트(1.x버전)나 256바이트(2.0버전)의 데이터가 오가는데
http://en.wikipedia.org/wiki/Extended_display_identification_data#EDID_1.3_data_format 여기 잘 나와있다.
올초에 메인으로 쓰던 Dell U2412M를 사용하던중
[ 2.801934] [drm:drm_edid_block_valid] *ERROR* EDID checksum is invalid, remainder is 127
[ 2.801970] Raw EDID:
[ 2.801993] 7f ff ff ff ff ff ff 00 10 ac 7a a0 XX XX XX XX(SEREAL)
[ 2.802021] 1c 16 01 03 80 34 20 78 ea ee 95 a3 54 4c 99 26
[ 2.802049] 0f 50 54 a1 08 00 81 40 81 80 a9 40 b3 00 d1 c0
[ 2.802077] 01 01 01 01 01 01 28 3c 80 a0 70 b0 23 40 30 20
[ 2.802105] 36 00 06 44 21 00 00 1a 00 00 00 ff 00 47 48 4e
[ 2.802133] 33 52 32 37 42 33 45 35 4c 0a 00 00 00 fc 00 44
[ 2.802161] 45 4c 4c 20 55 32 34 31 32 4d 0a 20 00 00 00 fd
[ 2.802189] 00 32 3d 1e 53 11 00 0a 20 20 20 20 20 20 00 4a
이런 커널메시지가 날 반기며 모니터 출력이 정상적으로 되지 않았다.
위키를 보면 첫 8바이트는 “00 FF FF FF FF FF FF 00 ” 로 고정이나 커널은 첫바이트를 7F로 받으면서 에러를 내주었다.
물론 해상도데이터가 전혀없으므로 강제로 해상도를 잡아주기전까진 화면역시 나오지 않았다.
(편법으로 잘되는 모니터로 부팅후 바꿔치기 방법도 있었다.)
웹서핑을 하다가EDID를 PC에서 수정할 수 있는 방법을 찾았는데
PowerStrip을 이용하거나(추천) 리눅스 커맨드라인 프로그램이 있었는데(까먹음 -_-a)
내 피시에서는 지원되지 않았다.(HD3000….읽는거만…)
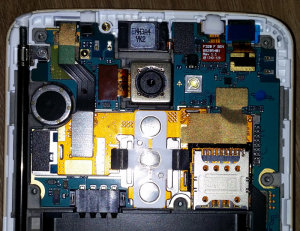
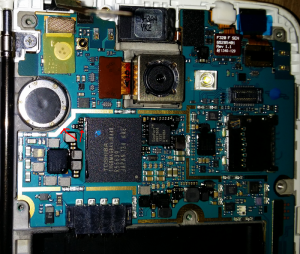
결국 귀찮아서 AS신청 하였다.(무려5년!)
1:1 교체였는데 불량화소 가득하고 빛샘현상이 가득해 보드만 냠냠 (1:1교체 ….)
어떤 이유로 EDID가 앞 1바이트만 바꼈는지도 모르겠으며 앞으로도 바뀔일이 없겠지…..
덕분에 EDID에 대해 공부할 수 있는 좋은 기회가 되었다. (이런기회는 없었으면….)
http://www.hardwarebook.info/VGA_(VESA_DDC)
http://en.wikipedia.org/wiki/Extended_display_identification_data
http://iambongsu.com/275
edid.tar.gz
